Ceiling fan installation: It’s easier than you think

Have you just bought a new ceiling fan and don’t know how to install it? Do you think it is the work of a professional? Don’t think it’s a tough job that can just be done by an electrician only. Since an expert was once a beginner, you can do it on your own. Through some steps provided below, you can get the viewpoints clear and get your blower installed at negligible rates.
What all do you need?
A new ceiling fan
Fan brace and box assembly
Switch
Wire connectors
Screwdrivers
Hammer
Needle-nose pliers
Non-contact voltage tester
Nut driver
Tape measure
Wrench set

Wire stripper/ cutter
Follow the recommended steps to pluck out the problem
1.Requirements as per your room size: Fan manufacturers suggest that the fan should be installed at least 7 feet above the ground for its best impact. It shall be not more than 1 foot below the vault so that it gets a larger amount of air to draw from and can provide you with a better experience. So you should keep these things in mind while installing a blower for a better experience. Also, you can use different types of down rod as per your needs.
2.Remove the old box: Shut off the power button, remove the light fixture and free some space for the new brace to be installed in that place. Remove it with care but leave the old box to remain in the ceiling cavity if it cannot be removed.
3.Install the ceiling brace: After removing the old box, install the new ceiling brace so that it can be used to give support. Don’t use the old one as it cannot be suitable for your new one.
4.Install the new box: Feed the existing wires through the top of the new metal box and tighten the nuts to clamp the box to the shaft with a nut driver or a deep-well socket.
5.Attach the hanger bracket: You should attach the hanger bracket around the new box with the opening side on the uphill of the ceiling. Tight it with the screws provided with the fan brace.
6.Connect the down-rod and hanging ball: Select the correct size of down-rod as per the requirement of your room and connect it to the motor of the fan. Then, slip the collar cover and slide the ball over the down-rod. Tight the nuts to fix it.
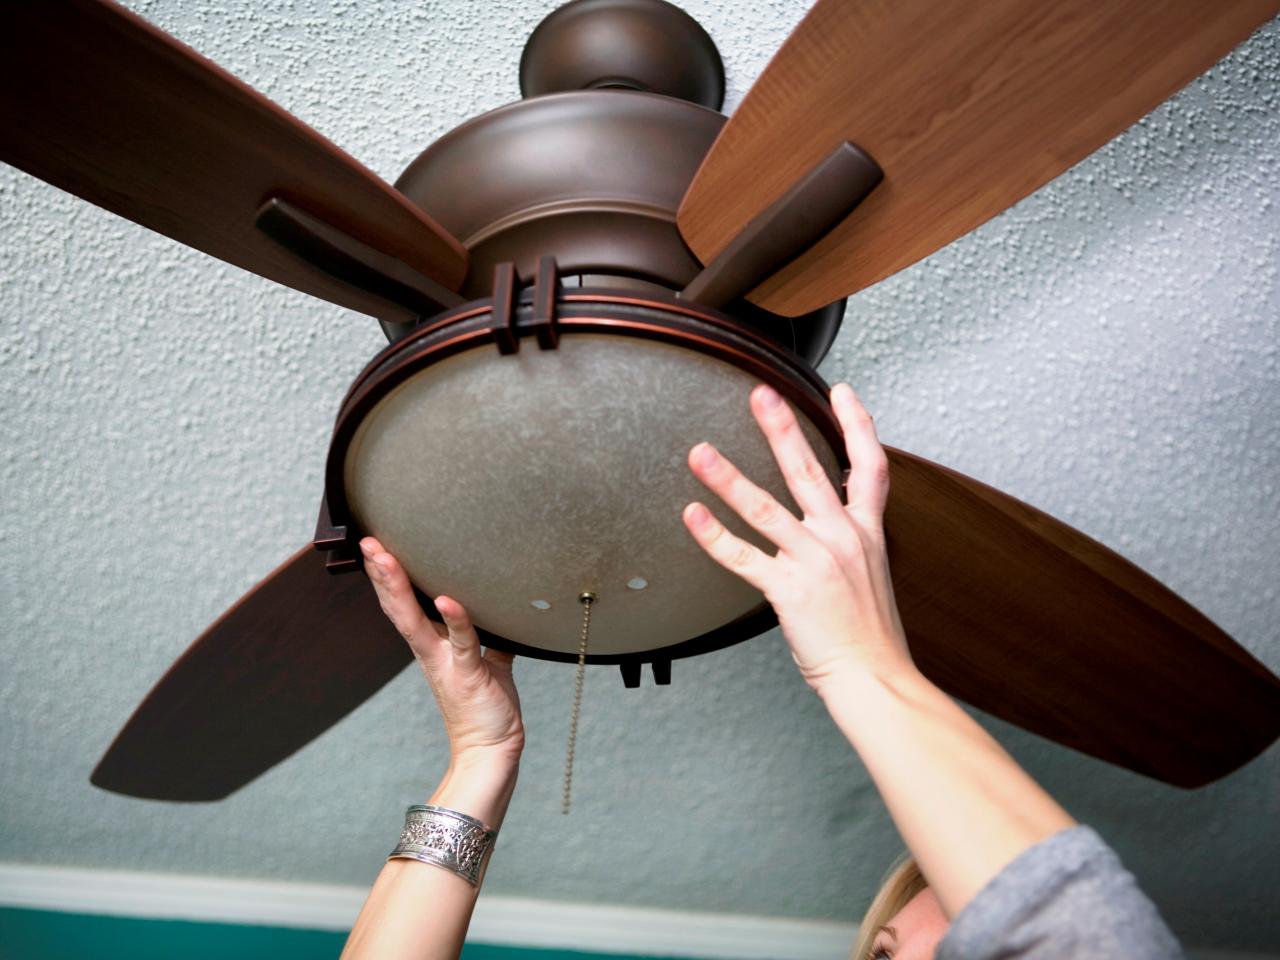
7.Hang the motor: Lift the motor to the hanger bracket and rotate it until the ball slot gets fixed to the tab on the bracket.
8.Connect the wire: Connect the similar colour wires from the box to the same colour wires on the bracket using a wire connector.
9.Attach the blades: After connecting the whole motor to the bracket and connecting the wires, attach the blades to their respective places and fix it using nuts and bolts.
Attach the whole setup with intense care as it can lead to some major damage through a short circuit in your house. While recollecting the steps above, it is easy to install the ceiling fan installation but it requires a lot of care and concentration otherwise it can lead to any severe damage to you or your property.