Facebook, on an effort to keep up with the advancing times, will always be rolling in new features and tools on its platform. This is a good way of not getting swept away with the continuously moving passage of time.
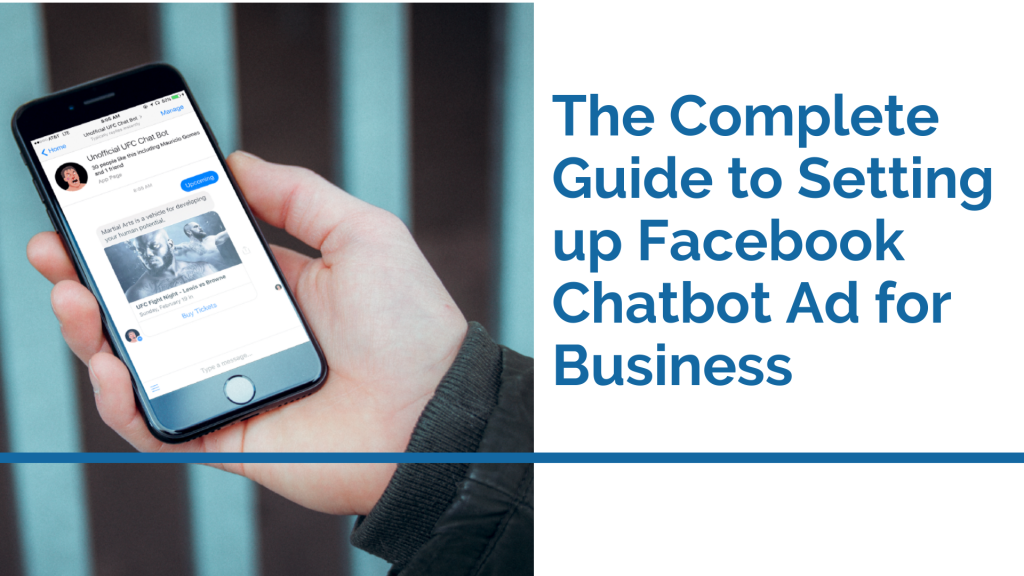
One of the innovations that Facebook has incorporated into its platform is the use of chatbots. Chatbots are a good way of automating certain operations in one’s business Facebook page. It can even advertise for you.
If you still have not made use of the chatbots, then you may be missing out on a lot of things that would better how you manage your Facebook business account. Want to get started? Then read on and follow the guide to help you set up your Facebook chatbot ad now.
What is chatbot advertising?
Before getting started, you may be wondering what chatbot advertising is all about. It is very simple really. Chatbot advertising is basically advertising through chat messages automated via artificial intelligence.
According to Voymedia, Facebook marketing in NYC, chatbot advertising is a good way of personalizing advertisements and is faster to do than individually making an ad. Plus, it makes it easier for your customers to shop in your business.
Nowadays, people desire more personal connections. They no longer are willing to entertain ads that are packaged in a way that does not take into consideration what they want so it is good to invest in chatbot advertising.
How to set up a Facebook chatbot ad
Before you can set up a Facebook chatbot ad, first you need to create a Facebook ad campaign. A Facebook ad campaign is composed of the campaign, the ad set, and finally the ads so you will need to set these up before you start with the Facebook chatbot ad.
Setting Up a Facebook Ad Campaign for Facebook Messages
1. If you don’t have a Business account on Facebook yet, then you should set this up first. All you have to do is have a personal account on Facebook and then create a page.
Once you’ve made a page, your Business account should be active then you can now move on to creating the best Facebook ad campaign.
2. Go to your page and click on the arrow at the top-right corner beside a lock icon.
3. On the drop-down menu, click Manage Adverts. Your Ad Accounts page should show up. Otherwise, you can simply go to facebook.com/ads/manager to go to an ads manager account if you are managing more than one ad account.
4.Once there, go to the Campaign tab and click on Create to start a campaign.
5.After, you will be tasked to choose an objective for the campaign. Note, however, that some campaigns don’t let you use Facebook Messenger so check that first. If you want, you can choose the Messages option first.
6.Once you have chosen your campaign’s objective, give an easily recognizable name for your campaign.
7. Next, you go to the ad set level. You can name the ad set and then move on to the Message Destination section.
You can choose from Click to Messenger, a Sponsored message in Facebook Messenger, and finally, the WhatsApp message. We will stick with the Click to Messenger option for now.
8. While still in the ad set level, you now have to tweak settings for your Audience targeting. The common configurations are Location, Age, Gender, and Languages. Modify these configurations based on customer information that you have.
9. Next is the Detailed Targeting section, still in the Audience tab. When making a detailed targeting decision, be conscious of not being too specific that your ad doesn’t show to any people at all.
10. Again, still on the ad set level, now you move on to Placements. Placements are where you want your ads to show so choose the preferred option.
The final part on the ad set level is the Budgeting & Schedule. There are the Lifetime and the Daily budgeting.
- Lifetime budgeting indicates how much you’re willing to spend in total for the run of an ad set. On the other hand, Daily budgeting indicates the average amount you will be paying or willing to pay for an ad set to run in a day.
- The scheduling depends on which Budgeting option you choose. Lifetime budgeting allows you to get more specific about your scheduling to the hour so you should consider that when choosing between the two.
12. You can now move on to the Ad level. In the ad level, the first thing to figure out is Identity. You can link your Facebook page or your Instagram for this as an Identity.
13. Next, choose the format of your ad. You can either have a single image, a carousel, or a video. It all depends on your goal and your target audience.
14. After setting that up, you can now have the Ad Set up section started. Simply fill out all the required fields, namely your ad Text, the Headline, and your Call to Action. The Ad Preview on the right should show you what it’ll look like.
Setting Up the Chatbot Ad
Now that you have set almost everything up for the campaign, this is the part where chatbots come into play.
1. You now should be on the Messenger Setup part of the campaign. This is where you begin conversations with your target. You can choose between a Standard setup or a Custom one. However, it is best to choose Custom so that users will have more personal experiences with your chatbot.
2. It is best that for this part to get the assistance of a developer who can give you code based on how you want your welcome message to appear. The code should then be pasted on the JSON tab. You can also use the Visual Editor.
3. With the Visual Editor, you can use either Text, Text & Image, or Text & Video as formats. Edit your Text Greeting and Add Personalization as you see fit. After which, you can choose which Customer Actions fit with you.
4. Once you’ve got that down, ask the help of a developer to connect your bot. It is easier to do if you have a chatbot builder but it is still best to have a developer help you out on this section.
Once done, you can now launch your Facebook Chatbot Ad! Look at the results and continuously develop your Chatbot Ad so that you’ll always get better results than previous.

